Shop Products
-
Newest Products
-
Best Sellers
-
Cool Tools Brand Products
-
Aureus™ Bright Bronze Clay
-
Clay Hydrator
-
ClayMate
-
Clay Rolling Frames
-
Clay Rollers
-
Clay Tack
-
CoolSlip
-
Cyprus™ Copper Clay
-
Dry Release
-
Drying Forms
-
EZ925™ Sterling Silver Clay
-
EZ960® Sterling Silver Clay
-
Finishing Touches Molds
-
Flexi-Carve
-
FS999™ Fine Silver Clay
-
Jewel Stamps
-
Mega Mold
-
Metal Clay
-
No-Flake Firing Foil
-
Painting Powder for Silver & Enamel
-
Patina Gel
-
Phoenix Torch Fireable Clay™
-
Quality Stamps for Wet Clay
-
Ready Molds
-
Rejuvenate
-
Ring Sizers
-
Setting Molds
-
Silicone Ring Mandrels
-
Silver Prep
-
Slik
-
Stone Setting Punches
-
Templates
-
Textures
-
Ultra Clay Pick
-
Tuff Cards
-
Work Surfaces
-
-
Metal Clay
-
Polymer Clay
-
Kits & Bundles
-
Tools & Equipment
-
Accessories
-
Adhesives
-
Brushes
-
Cool Tools Brand Products
-
Drills & Burs
-
Hammers
-
Filing & Sanding
-
Magnifying & Optical
-
Measuring & Testing
-
Metal Clay Tools
-
Metal & Bench Working Tools
-
Metal Stamping
-
Polymer Clay Equipment
-
Pliers, Cutters & Saws
-
Polishing & Burnishing
-
Safety
-
Silhouette Portrait® & Curio™
-
The Small Pottery Wheel
-
Soldering
-
Stone Setting
-
Tweezers & Holding
-
Shop by Brand
-
-
Kilns & Firing
-
Enameling
-
Metals
-
Powder Coating
-
Gemstones
-
Chain & Wire
-
Findings
-
Finishes & Embellishments
-
Accent Gold & Accent Silver
-
Cernit® Varnish
-
Concrete & Pigments
-
Drawing
-
Enamel Markers
-
Faux Bone™
-
Fine Silver & Gold Painting Powder
-
Foil Sheet & Gold Plating
-
Gelli Arts®
-
Gilders Paste
-
Green Stuff World Dipping Inks
-
Lacquers & Polishes
-
Lumiere Lusters
-
Metal Etching
-
Mod Podge®
-
Mica Powder
-
Patina
-
Perfect Pearls™
-
Pigment Powder
-
Powder Coatings
-
Resin
-
Resin Coloring
-
Rub 'n Buff
-
Sculpt Nouveau & Swellegant
-
Silk Screens
-
Slide Transfers
-
Sprinkles & Flakes
-
Tim Holtz
-
Water Effect Gel & Texture
-
-
Molds & Mold Making
-
Templates & Stencils
-
Textures
-
Pam East Products
-
Clearance
-
Gift Cards

Aureus™ Bright Bronze Clay
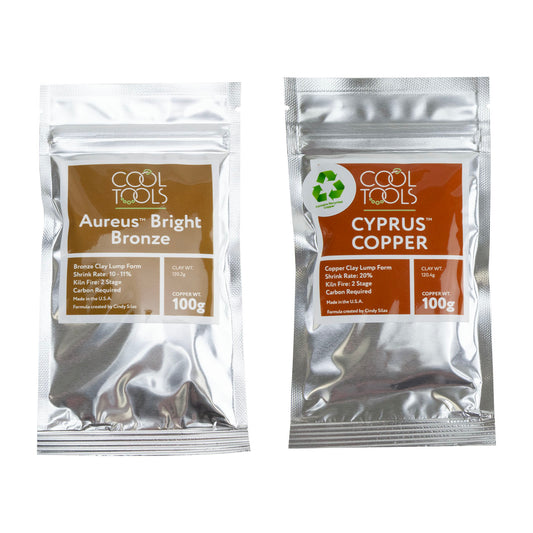
Developed by Cindy Silas, Aureus Bright Bronze Clay is an excellent base metal clay medium for jewelry, crafts, sculpture and models. Offered in lump (wet) form, this clay results in a beautiful, bright bronze when fired. Economical, easy to form, fire and finish. Made in the USA.
-

 Trending
Aureus™ Bright Bronze Clay
Regular price From $31.00 USD to $74.95 USDRegular priceUnit price / per -
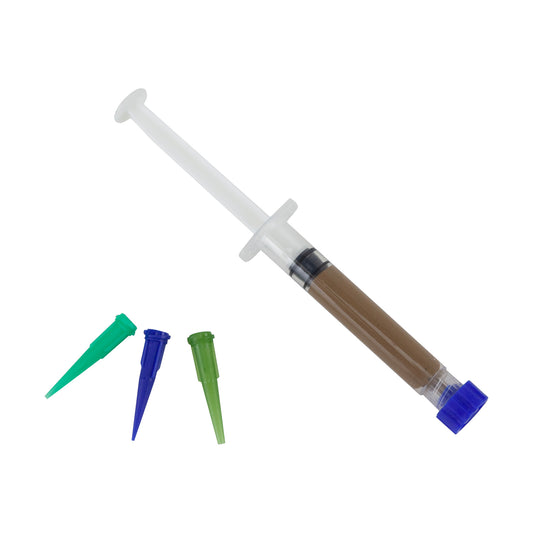
Aureus™ Bright Bronze Clay Syringe - 10 grams
Regular price $18.95 USDRegular priceUnit price / per -
Cool Tools Base Metal Clay Bundle
Regular price From $54.00 USD to $99.00 USDRegular priceUnit price / per


Collection: Aureus™ Bright Bronze Clay
Aureus Bright Bronze Clay
Developed by Cindy Silas, Aureus Bright Bronze Clay is an excellent base metal clay medium for jewelry, crafts, sculpture and models. Offered in lump (wet) form, this clay results in a beautiful, bright bronze when fired. Economical, easy to form, fire and finish. Made in the USA.
Aureus Bright Bronze Overview & Firing Guide.